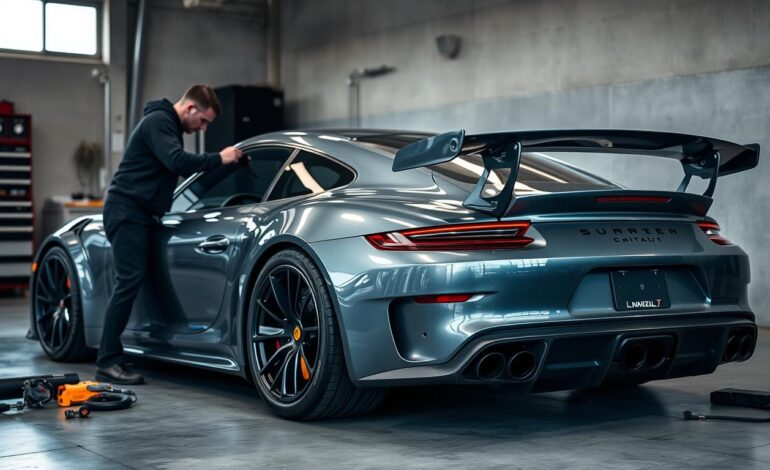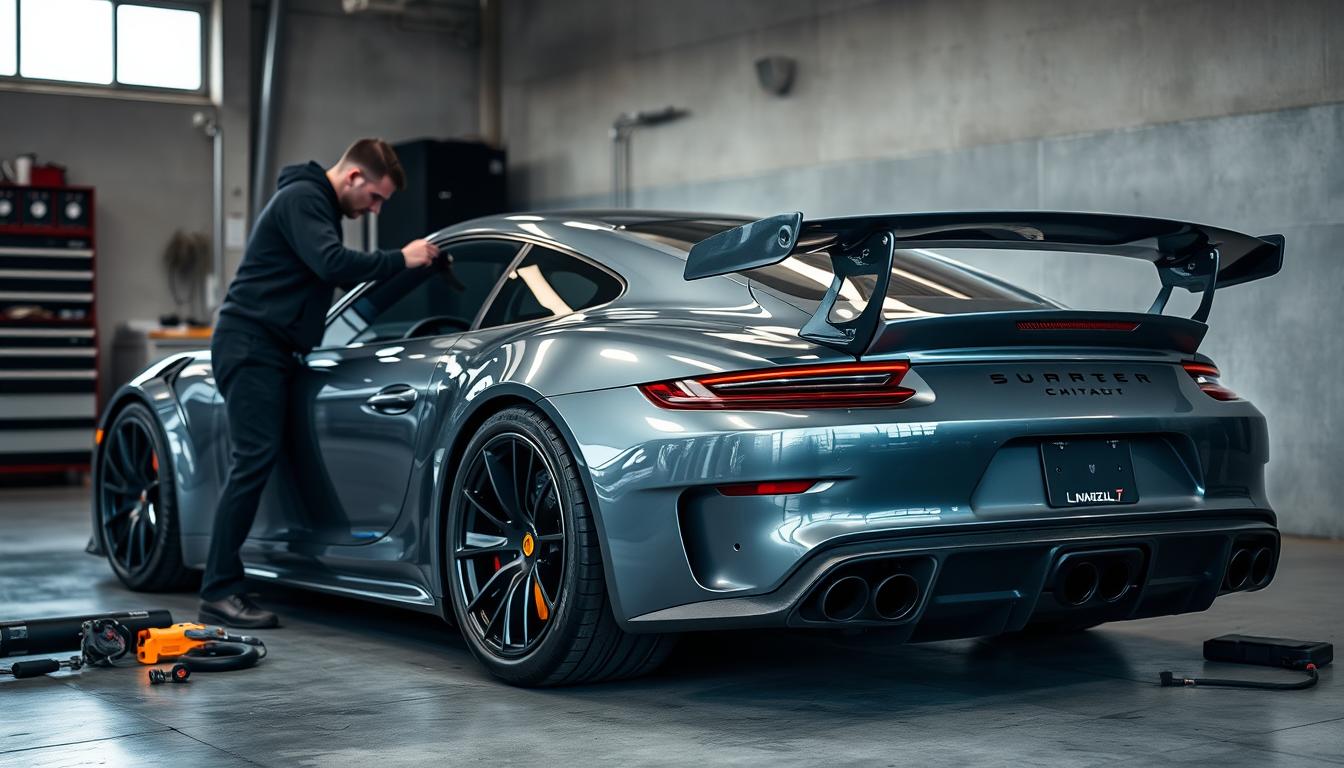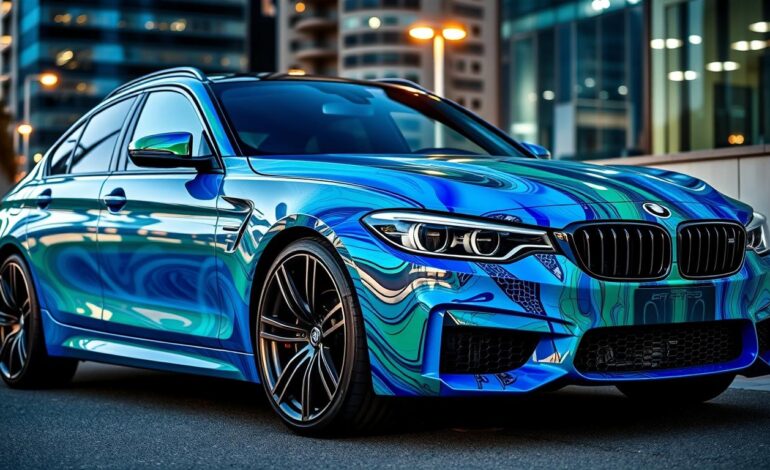
DIY Vinyl Wrapping: Give Your Car a New Look
Welcome to our guide on DIY vinyl wrapping. Here, you’ll learn how to give your car a brand new look. Vinyl wrapping is a popular way to customize vehicles. It offers many designs, colors, and finishes.
Looking to personalize your vehicle? Want to protect its paint or give it a fresh look? Vinyl wrapping is a great choice. With the right tools and techniques, you can get a professional finish without spending a lot. Your car will show off your personality.
Introduction to DIY Vinyl Wrapping
In this guide, we’ll show you how to do DIY vinyl wrapping. You’ll learn about its benefits, the materials available, and the tools needed. By the end, you’ll know how to make your car stylish and protected.
Key Takeaways
- DIY vinyl wrapping is a cost-effective way to give your car a new look
- Vinyl wrapping offers a wide range of designs, colors, and finishes
- With the right tools and materials, you can achieve a professional-looking finish
- Vinyl wrapping can protect your car’s paint and provide a fresh new appearance
- DIY vinyl wrapping is a fun and rewarding project for car enthusiasts
- You can give your car a new look that reflects your personality and style
Understanding Vinyl Wrapping Basics
Vinyl wrapping is a favorite for car customization. It offers many design choices and is easy to remove. First, you need to know the basics of vinyl wrapping. It involves putting a thin, sticky vinyl sheet on a car’s surface. This gives a flexible and lasting finish.
Vinyl wrap has many perks over paint. It’s easy to take off, perfect for those who like to change their car’s look without a lasting paint job. It also protects the car’s surface from scratches and fading.
What is Vinyl Wrapping?
Vinyl wrapping means putting a thin, sticky vinyl sheet on a car’s surface. It’s better than paint in many ways. It’s easy to remove, flexible, and comes in many designs.
Benefits of Vinyl Wrap vs. Paint
Here are some key benefits of vinyl wrap over paint:
- Ease of removal
- Flexibility
- Wide range of design options
- Protective layer for the vehicle’s surface
Types of Vinyl Wrap Materials
There are different vinyl wrap materials, like cast vinyl, calendared vinyl, and specialty films. Each has its own benefits and is good for various car customization projects.
Essential Tools and Materials Needed
To start a vinyl wrap DIY project, you need the right tools and materials. This includes a top-notch vinyl wrap, application fluid, a squeegee, a heat gun, and a cutting tool. Having these items will help you achieve a professional finish and make the process easier.
When picking a vinyl wrap for your vehicle, think about color, finish, and durability. A quality vinyl wrap can handle different weather and last long. Here are important things to look at when choosing a vinyl wrap:
- Color and finish: Pick a color and finish that fits your vehicle’s paint or your desired look.
- Durability: Choose a vinyl wrap that won’t fade, crack, or peel easily.
- Adhesive: Go for a vinyl wrap with strong and reliable adhesive for long-lasting hold.
With the right tools and materials, you’re ready for a successful vinyl wrap DIY project. Always follow the manufacturer’s instructions and be careful when using these tools and materials.
Preparing Your Workspace for Vinyl Wrapping
To get a great vinyl wrap DIY job and give your car a new look, you need to set up your workspace right. It should be clean, dry, and free of dust. This keeps the vinyl smooth and bubble-free.
You’ll need a big, flat area to work on. This could be a garage floor, a workshop table, or even a large cardboard. Having enough space helps you stay organized and avoid mistakes.
Ideal Temperature and Conditions
The best temperature for vinyl wrap is between 60°F and 80°F (15°C and 27°C). Don’t apply vinyl in direct sunlight or extreme temperatures. It can stretch or shrink. Also, work in a well-ventilated area to avoid fumes from adhesives and cleaners.
Safety Considerations
Always put safety first when working with vinyl wrap. Wear gloves to prevent cuts and use protective eyewear for debris. Keep a first aid kit nearby, just in case.
By following these tips, you’re on your way to a professional-looking vinyl wrap DIY project. Stay patient, take your time, and work in a clean, safe space for the best results.
| Workspace Requirement | Description |
|---|---|
| Clean and dry environment | Prevents dust and dirt from getting trapped under the vinyl |
| Large, flat surface | Provides enough room to work on the vinyl wrap |
| Well-ventilated area | Prevents the buildup of fumes from adhesives and cleaning products |
Surface Preparation Techniques
When you’re into car customization, getting the surface right is key. You need to clean and degrease the car to remove dirt and wax. This makes sure the vinyl wrap sticks well.
It’s also important to check for scratches or dents. These can cause problems with the vinyl, like air bubbles. To fix this, you might need to sand or fill in the imperfections.
- Remove any existing decals or wraps to prevent interference with the new wrap
- Use a mild detergent and water to clean the surface, avoiding any harsh chemicals
- Dry the surface thoroughly to prevent water spots
By doing these steps, you’ll get a strong bond between the vinyl and your car. This means your car customization will look great and last a long time.
| Surface Preparation Step | Importance |
|---|---|
| Cleaning and degreasing | High |
| Inspecting for imperfections | High |
| Removing existing decals or wraps | Medium |
The Complete Vinyl Wrapping Process
Starting a vinyl wrap DIY project can feel daunting, even for beginners in car customization. To get a pro-like finish, it’s vital to follow a detailed guide. The first step is measuring and cutting the vinyl, which needs precision for a perfect fit.
Handling curves and edges is a big part of the vinyl wrap DIY process. It’s tough, but with the right tools and methods, it’s doable. Tips include using a heat gun to shape the vinyl and a squeegee to get rid of air bubbles.
- Measure the surface carefully to ensure accurate cutting
- Use a high-quality vinyl wrap material for durability and ease of application
- Apply the vinyl wrap in a controlled environment to minimize dust and debris
By following these tips and practicing, you can get a pro-looking finish on your vinyl wrap DIY project. Be patient and take your time, as car customization needs focus and a steady hand.
| Step | Description |
|---|---|
| 1. Measure and cut the vinyl | Use a precision cutter to ensure accurate cuts |
| 2. Apply the vinyl wrap | Use a squeegee to remove air bubbles and a heat gun to conform the vinyl |
| 3. Work around curves and edges | Use a combination of heat and pressure to conform the vinyl to complex surfaces |
Common Mistakes to Avoid
When you give your car a new look with vinyl wrapping, knowing common mistakes is key. These can include air bubbles, wrinkles, misalignment, and wrong application.
To wrap your car smoothly, prepare the surface well and apply the vinyl carefully. Here are some common mistakes to watch out for:
- Air bubbles: These can be caused by improper application or uneven surfaces.
- Wrinkles: These can occur when the vinyl wrap is not applied smoothly or is stretched too tight.
- Misalignment: This can happen when the vinyl wrap is not properly aligned with the car’s surface.
Knowing these common mistakes helps you avoid them. This way, you can get a professional-looking new look for your car.
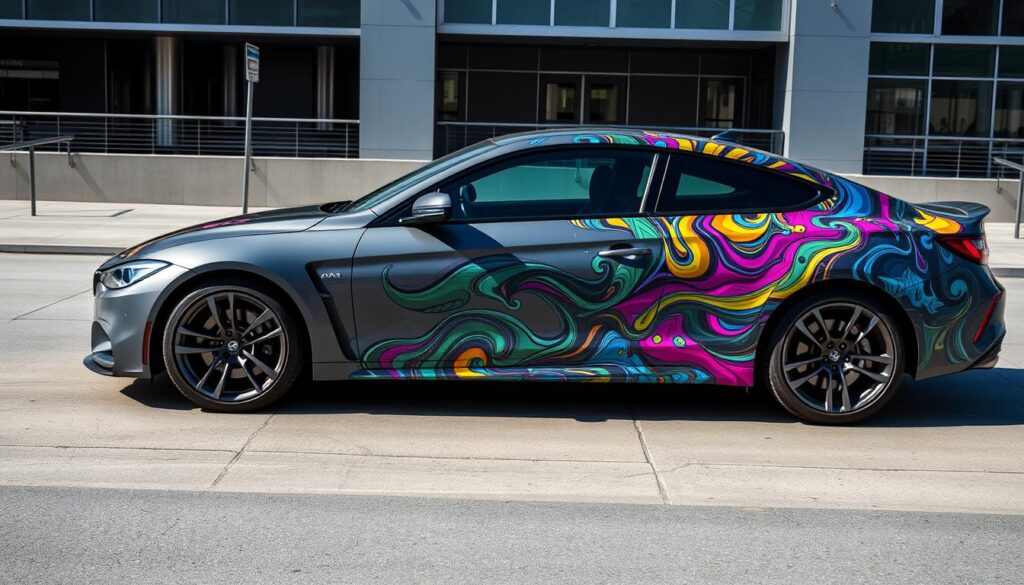
Remember, practice makes perfect. Taking your time to do it right will give you a beautiful, lasting vinyl wrap. Your car will surely stand out.
| Mistake | Prevention | Solution |
|---|---|---|
| Air bubbles | Proper application and surface preparation | Use a needle or pin to carefully pop the bubble and smooth out the area |
| Wrinkles | Smooth application and even stretching | Use a heat gun to relax the vinyl and smooth out the wrinkle |
| Misalignment | Proper measurement and alignment | Use a level and measuring tape to ensure proper alignment and reapply the vinyl wrap if necessary |
Professional Tips and Tricks
For a professional vinyl wrap DIY, remember a few key techniques. With the right tools and materials, you can make your vehicle look amazing.
Heat Gun Techniques
Using a heat gun is key for fitting vinyl on tricky surfaces. Apply gentle heat to stretch the vinyl. This ensures a smooth, bubble-free finish, perfect for curved or angled areas.
Bubble Prevention
To avoid air bubbles, apply the vinyl slowly and evenly. Use a squeegee or credit card to remove any air pockets. This will give you a glossy, smooth finish.
Here are more tips for a great vinyl wrap DIY:
- Choose high-quality vinyl made for vehicle wraps.
- Apply the vinyl in a well-ventilated area to avoid dust and debris.
- Use a measuring tape and level for accurate placement and alignment.
Maintaining Your Vinyl Wrap
To keep your car looking great, regular care is key. A well-kept vinyl wrap can make your car look new for years. It’s important to avoid extreme temperatures, park in the shade, and wash your car often.
Cleaning your vinyl wrap needs gentle methods to avoid harm. Use mild soap and water to clean it, staying away from harsh chemicals or rough materials. For stubborn stains, a soft-bristled brush can help gently remove them.
Cleaning Methods
- Use mild soap and water to clean the vinyl wrap
- Avoid harsh chemicals or abrasive materials
- Use a soft-bristled brush for tougher stains
Longevity Tips
To make your vinyl wrap last longer, follow these tips. Don’t park in direct sunlight to prevent fading or discoloration. Regular washing and waxing also protect the vinyl from the weather.
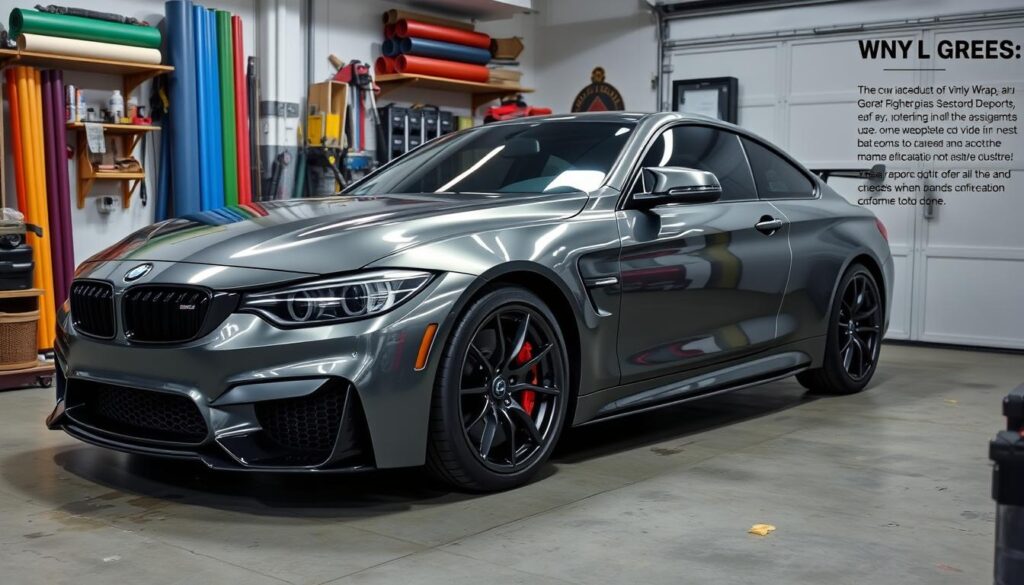
By following these easy maintenance tips, your car will stay looking great. Always handle the vinyl wrap carefully. Avoid harsh chemicals or abrasive materials that can harm the surface.
Troubleshooting Common Issues
When you’re into vinyl wrap DIY, you might face some problems. We’ve gathered common issues and tips to fix them. It’s key to check and maintain your wrap often to avoid peeling, cracking, or fading.
Some common issues with vinyl wrap DIY include:
- Peeling or lifting of the vinyl wrap
- Cracking or bubbling of the vinyl
- Fading or discoloration of the vinyl
To solve these problems, finding the cause is important. For instance, peeling can come from bad surface prep or wrong application. Vinyl wrap DIY fans can look up solutions online or get help from experts.
By sticking to the right installation and care, you can avoid many issues. Regular cleaning and checks can stop fading or color changes. This way, your vinyl wrap will stay looking sharp for a long time.
Conclusion: Transforming Your Car with Vinyl Wrap
DIY vinyl wrapping is a great way to make your car look new and protect its paint. This guide has shown you how to do it step by step. Now, you can turn your car into a real showstopper.
Whether you want a unique design or to refresh your car’s look, vinyl wrap is a good choice. It’s affordable and versatile.
Get creative with vinyl wrap materials and enjoy your DIY success. Take your time, be patient, and ask for help if you need it. With the right effort, you can get a professional look that will make your car stand out.
So, start planning your car’s new look today. Vinyl wrap can give your car a bold, fresh appearance. The possibilities are endless, and the fun is in the journey. Let your creativity shine and make your car uniquely yours.

