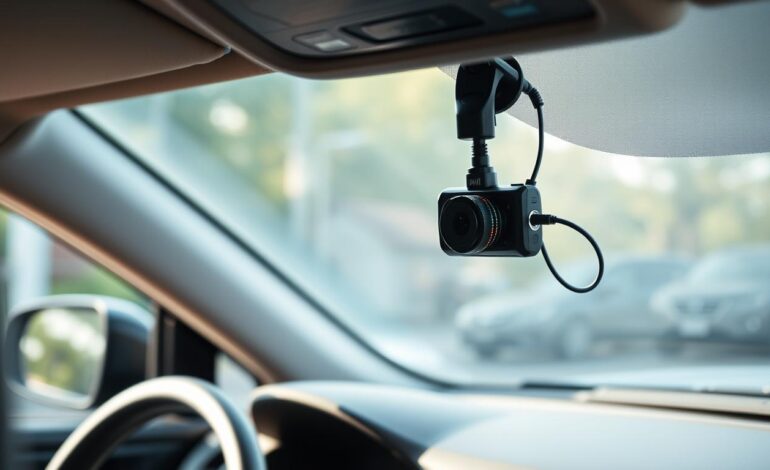
How to Hardwire a Dash Cam for Continuous Power
Installing a dash cam correctly is key for continuous recording and parking mode features. Hardwiring a dash cam might seem complex, but it’s actually quite simple with the right steps. This article will guide you through the process, covering the basics and the advantages of a hardwired system.
Hardwiring your dash cam ensures a steady power supply, allowing for uninterrupted recording and parking mode. This is vital for drivers who need their dash cam to record continuously, even when parked. With a hardwired dash cam, you can rest assured your vehicle is always being monitored.
By following our steps, you’ll successfully hardwire your dash cam. This will unlock the benefits of continuous power and parking mode features. Our guide is designed for both DIY experts and beginners. It includes safety tips, tools needed, and detailed instructions for installation.
Introduction to Dash Cam Installation
Understanding the importance of a proper dash cam setup is critical before starting. A hardwired dash cam ensures a steady power supply, enabling uninterrupted recording and parking mode. Next, we’ll explore the basics of installation, including safety measures and tools required.
Key Takeaways
- Hardwiring a dash cam provides a reliable and constant power source
- Continuous power allows for uninterrupted recording and parking mode features
- A hardwired dash cam is essential for drivers who want to ensure their vehicle is being monitored at all times
- Our guide will walk you through the process of dash cam installation, including safety precautions and required tools
- A proper dash cam setup is critical for continuous recording and parking mode features
- DIY electronics can be straightforward with the right guidance
Understanding Dash Cam Hardwiring Basics
Choosing how to power your dash cam is a critical decision. Hardwiring it to your vehicle’s electrical system is a favored method. It offers several advantages over other power sources. For those with DIY electronics experience, this process is straightforward. It results in a clean, customized installation that enhances your car recording capabilities.
First, grasp the fundamentals of hardwiring. This involves selecting the correct power supply for your dash cam. The choice depends on your vehicle’s make, model, and your car recording needs. Common options include:
- Directly to the battery
- To a fuse box
- To an accessory outlet
By mastering these basics and applying your DIY electronics expertise, you can achieve a successful hardwired dash cam installation. This ensures your car recording system operates reliably. It also improves your driving safety and awareness.
Hardwiring your dash cam guarantees continuous power and peak performance. It’s perfect for those seeking a dependable and top-notch car recording system. With the proper knowledge and tools, you can harness the benefits of hardwired dash cams. This enhances your driving security and awareness, all while utilizing your DIY electronics skills for a tailored setup.
Essential Safety Precautions Before Installation
When engaging in car recording, safety is of utmost importance. Before setting up a dash cam, it’s vital to take precautions to prevent damage to the vehicle or the device. Ensure the vehicle is parked in a safe spot, away from traffic and hazards.
To ensure a safe and effective installation, consider these safety measures:
- Disconnect the battery to prevent electrical shocks or damage to the vehicle’s electrical system.
- Use appropriate protective gear, such as gloves and safety glasses, to protect yourself from hazards.
- Consult the vehicle’s manual to understand the electrical system and avoid risks.
By following these safety precautions, you can have a worry-free dash cam setup. This allows you to enjoy the benefits of safety and car recording without concerns.
Remember, safety is always the first priority when working with electrical systems and devices. Being aware of risks and taking necessary precautions ensures a safe and successful dash cam installation.
| Safety Measure | Importance |
|---|---|
| Disconnecting the battery | High |
| Using protective gear | Medium |
| Consulting the vehicle’s manual | High |
Required Tools and Materials for Installation
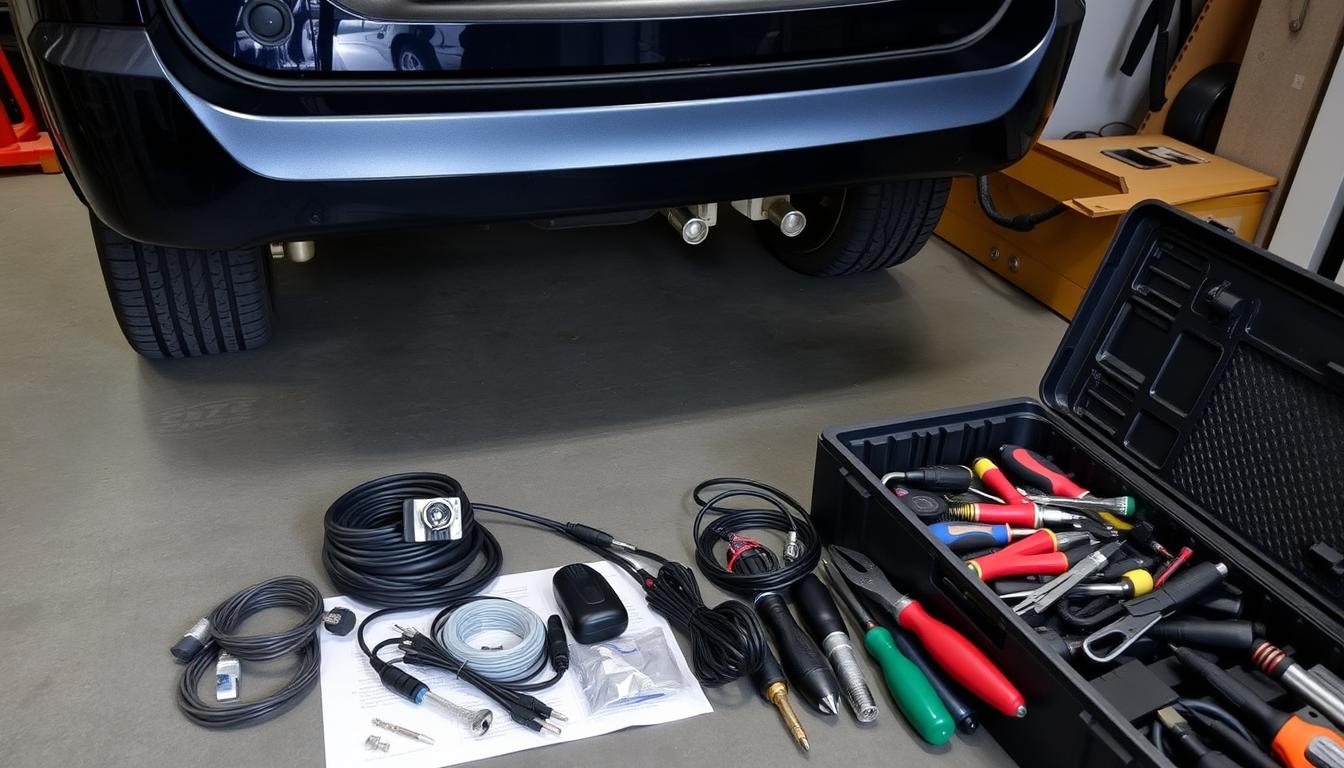
For a dash cam setup, the right tools and materials are key to a successful DIY electronics installation. It’s vital to gather all necessary components before beginning. This ensures a smooth integration with the vehicle’s electrical system.
A basic tool list includes a wiring harness, fuse taps, and electrical connectors. A multimeter is also useful for electrical system testing. For a more detailed installation, consider optional items like a hardwiring kit, voltage regulator, and backup camera.
Basic Tool List
- Wiring harness
- Fuse taps
- Electrical connectors
- Multimeter
Optional Equipment
- Hardwiring kit
- Voltage regulator
- Backup camera
Choosing the right hardwiring kit is critical for a dash cam setup. It must fit the vehicle’s specific needs and the dash cam model. A quality kit includes a fuse holder, voltage regulator, and electrical connectors. With the correct tools and materials, a DIY electronics installation can be successful, providing the benefits of a hardwired dash cam.
Choosing the Right Hardwiring Kit
When picking a hardwiring kit, consider the vehicle type, dash cam model, and desired features. The kit should match the vehicle’s electrical system and ensure a stable power supply to the dash cam. This ensures a reliable and efficient dash cam setup.
| Hardwiring Kit Features | Description |
|---|---|
| Fuse Holder | Protects the electrical system from power surges |
| Voltage Regulator | Regulates the voltage supply to the dash cam |
| Electrical Connectors | Provides a secure connection between the dash cam and the vehicle’s electrical system |
Professional Dash Cam Installation Steps
Proper installation is key for a dash cam to record continuously. To ensure a smooth process, follow the right steps. Begin by collecting all necessary tools and materials, including a hardwiring kit for your vehicle.
Professional installation starts with finding the fuse box. It’s often under the steering column or in the glove compartment. After locating it, determine which fuse slots are free for the dash cam. This info is in your vehicle’s manual or from a mechanic.
Key Installation Considerations
- Choose a fuse slot tied to the ignition switch for the dash cam to sync with the engine.
- Connect the dash cam’s power cable to the fuse box using a fuse tap to protect your vehicle’s electrical system.
- Ensure the power cable is safely routed, avoiding obstacles that could affect recording quality.
By adhering to these steps and considering these factors, you’ll achieve a professional dash cam setup. This setup will enhance your driving experience and provide top-notch car recording. Always refer to the manufacturer’s instructions and seek professional help if unsure about any part of the installation.
| Installation Step | Description |
|---|---|
| Locate the fuse box | Find the fuse box in your vehicle, usually under the steering column or in the glove compartment. |
| Identify the correct fuse slots | Determine which fuse slots are available for the dash cam installation, consulting your vehicle’s owner’s manual or a professional mechanic if necessary. |
| Run the power cable | Route the power cable safely and efficiently, avoiding any obstacles or hazards that could compromise the car recording quality. |
Connecting to Your Vehicle’s Electrical System
Integrating your dash cam with your vehicle’s electrical system demands caution to prevent damage. It necessitates a basic grasp of DIY electronics and a meticulous approach. This ensures a stable and reliable power supply for your dash cam setup.
To connect your dash cam, locate the fuse box and identify the correct fuse slots. This information is often found in your vehicle’s manual or online. After finding the fuse box, run the power cable from the dash cam to it.
Consider these key points when connecting your dash cam to the vehicle’s electrical system:
- Use a high-quality DIY electronics kit designed for dash cam installation
- Follow the manufacturer’s instructions for the dash cam setup and installation
- Ensure all connections are secure and protected from moisture and vibration
By carefully connecting your dash cam to the vehicle’s electrical system, you’ll enjoy a reliable power supply. This provides peace of mind and high-quality footage for your dash cam setup.
Setting Up Parking Mode Features
When setting up a dash cam, parking mode is a critical feature to consider. It allows your dash cam to record continuously, even when your vehicle is stationary. This adds an extra layer of security and peace of mind. To activate parking mode, you must adjust the voltage cut-off settings and motion detection.
The voltage cut-off setting is key in parking mode. It determines when your dash cam stops recording to avoid battery drain. Finding the right balance between recording time and battery life is essential for car recording. This ensures your dash cam records for as long as possible without depleting your vehicle’s battery.
Voltage Cut-off Settings
To adjust voltage cut-off settings, access your dash cam’s menu and navigate to parking mode settings. Here, you can set the voltage cut-off threshold. This threshold determines when your dash cam stops recording. Refer to your dash cam’s manual for specific instructions on how to do this.
Motion Detection Configuration
Motion detection is another vital feature for parking mode. It enables your dash cam to start recording upon detecting motion. This is useful for capturing footage of incidents. To configure motion detection, adjust the sensitivity settings. These settings control how much motion is needed to trigger recording.
By correctly configuring these settings, your dash cam will provide reliable and efficient car recording, even when parked. A well-set dash cam offers peace of mind and protection against incidents.
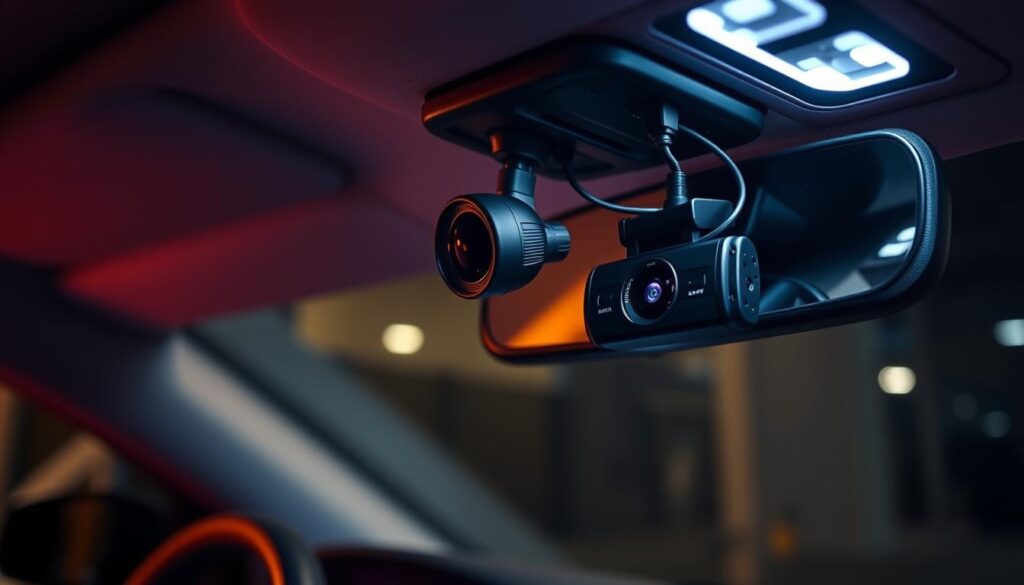
Here is a summary of the key settings to consider when setting up parking mode:
- Voltage cut-off settings: determine when your dash cam stops recording to prevent battery drain
- Motion detection configuration: allows your dash cam to start recording when it detects motion
- Recording time: balance between recording time and battery life to ensure your dash cam continues to record for as long as possible
By following these tips and configuring your dash cam’s parking mode settings correctly, you can enjoy reliable and efficient car recording, even when your vehicle is parked.
Testing Your Installation
Once you’ve installed your dash cam, it’s vital to test it. This ensures the DIY electronics setup is correct. You’ll want to confirm the dash cam records well and all features work as they should.
To test your installation, follow these steps:
- Turn on your vehicle’s ignition and check if the dash cam turns on automatically.
- Check the dash cam’s display to ensure it’s showing the correct date and time.
- Test the dash cam’s recording feature by driving around and checking if it’s capturing footage correctly.
- Check the dash cam’s parking mode features, such as motion detection and voltage cut-off settings, to ensure they’re working as expected.
A proper dash cam setup is key for road safety. By following these steps, you can confirm your dash cam is installed and working right. This gives you peace of mind while driving.
Testing your installation ensures your dash cam is reliable and functional. This means increased safety and protection on the road.
| Feature | Expected Outcome |
|---|---|
| Recording | Footage is captured correctly |
| Parking Mode | Motion detection and voltage cut-off settings are working as expected |
| Display | Correct date and time are shown |
Common Installation Challenges and Solutions
Setting up a dash cam can face various installation challenges. A correct dash cam setup is key to ensure it works right and captures quality footage. Issues like power problems, connection issues, and wrong wiring can occur.
To solve these problems, finding the root cause is essential. For instance, if your dash cam won’t turn on, inspect the power cable. Make sure it’s well connected to your car’s electrical system. If you’re having trouble with connections, check that all cables are tight and the dash cam is set up right.
Troubleshooting Power Issues
- Check the power cable for any damage or wear
- Verify that the dash cam is properly connected to the vehicle’s electrical system
- Ensure that the fuse box is not overloaded, which can cause power issues
Fixing Connection Problems
A stable connection is vital for a successful dash cam setup. To resolve connection issues, try the following:
- Restart the dash cam and check for any software updates
- Verify that all cables are securely connected to the correct ports
- Check for any interference from other devices in the vehicle
By following these troubleshooting tips, you can overcome common installation challenges. This ensures your dash cam works correctly, providing high-quality car recording and a reliable setup.
| Issue | Solution |
|---|---|
| Power issues | Check power cable, verify connection to electrical system |
| Connection problems | Restart dash cam, check for software updates, verify cable connections |
Maintaining Your Hardwired Dash Cam
Regular maintenance is key to keeping your dash cam in top shape. This includes checking the power supply, cleaning the lens, and updating the firmware. These steps are vital for a dash cam setup and can be handled through DIY electronics. By doing these tasks, you can avoid problems and keep your dash cam working well.
Some essential maintenance tasks include:
- Regularly inspecting the power cable for any signs of damage or wear
- Cleaning the camera lens to prevent dirt or debris from obstructing the view
- Updating the firmware to ensure you have the latest features and security patches
By following these simple maintenance tasks, you can extend your hardwired dash cam’s lifespan. It ensures it continues to capture high-quality footage. Whether you’re an experienced DIY electronics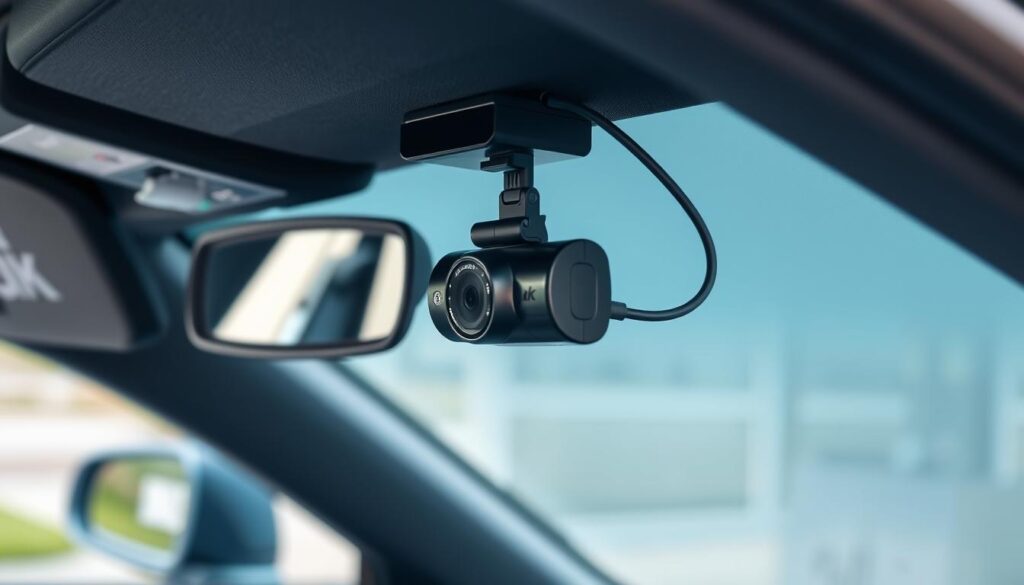
Remember, a well-maintained dash cam is critical for capturing clear footage. This is invaluable in case of an accident or incident. By focusing on maintenance and addressing any issues promptly, you can rely on your dash cam setup to record when needed.
Battery Drain Prevention Tips
Preventing battery drain is key to keeping your dash cam running when your car is parked. A well-thought-out dash cam setup is essential for effective car recording. It’s important to keep an eye on power usage and tweak settings for better battery life.
When setting up your dash cam, think about its power usage. Most dash cams have a built-in battery, but they can drain quickly if not set up right. To avoid this, adjust settings to lower power use. For instance, turn off the screen when idle or set it to sleep after a while.
Monitoring Power Consumption
To track power use, use a battery meter or a dash cam with a battery level indicator. This lets you monitor your battery’s power and adjust as needed. Also, consider a hardwiring kit to connect your dash cam to your car’s electrical system. This cuts down battery drain risk.
Optimal Settings for Battery Life
Optimizing your dash cam settings can greatly extend battery life. Adjust video quality, frame rate, and recording mode to cut down power use. For example, record in lower resolution or frame rate when parked. These tweaks help your dash cam keep recording without draining your car’s battery.
By following these tips, you can stop battery drain and keep your dash cam recording well. Always check your dash cam’s battery level and tweak settings to keep battery life optimal. This ensures your dash cam records without interruption.
Legal Considerations and Placement Guidelines
When engaging in car recording, it’s vital to grasp the legal framework in your jurisdiction. Familiarizing yourself with these laws ensures a proper dash cam setup and sidesteps legal pitfalls. In the United States, for instance, certain states mandate specific dash cam placement and audio recording protocols.
To lawfully employ your dash cam, it’s imperative to research local regulations. Adhere to these guidelines to ensure your dash cam setup is both legal and effective:
- Verify if your state permits dash cam recording and scrutinize any audio recording restrictions.
- Opt for a dash cam with a broad-angle lens to capture a wider expanse of the road and environment.
- Position your dash cam thoughtfully to prevent it from obstructing your line of sight while driving.
By adhering to these principles and comprehending car recording laws, you can optimize your dash cam setup for superior footage quality. Always verify local laws and heed the manufacturer’s guidelines for your dash cam model.
Equipped with the correct dash cam setup and legal acumen, you can harness the advantages of car recording while maintaining safety and adherence to the law.
Conclusion
As we wrap up this detailed guide on hardwiring your dash cam, it’s vital to highlight the main advantages. By hardwiring your dash cam, you guarantee continuous recording, even when your car is stationary. This offers significant DIY electronics benefits for your vehicle’s safety and security.
By following the steps in this article, you can seamlessly connect your dash cam to your car’s electrical system. This unlocks features like parking mode and motion detection. With the right tools and patience, you can achieve a top-notch dash cam installation. It will improve your driving experience and offer peace of mind on the road.
A well-installed and hardwired dash cam is a critical tool for documenting incidents, protecting yourself from liability, and capturing essential footage in emergencies. Invest time in ensuring your setup is correct. You’ll enjoy a dependable and smooth recording experience for many years.

