Step-by-Step Guide to Replacing Brake Pads and Rotors
Keeping your vehicle safe on the road is key, and brake repair is a big part of that. Brake pads are vital for stopping your car, and replacing them is easy. It’s important to know how to replace brake pads and rotors to keep your car safe and running well.
Brake repair includes checking your brake pads and rotors for wear. Replacing brake pads can make your car stop better.
Learning about brake repair can save you money and time. By following a guide on replacing brake pads and rotors, you can keep your car safe and in good shape.
Introduction to Brake Repair
Brake repair is a must for keeping your car safe. Replacing brake pads and rotors helps prevent accidents and brake failure.
Key Takeaways
- Proper brake repair is essential for vehicle safety
- Brake pads are a critical component of the braking system
- Replacing brake pads is a relatively straightforward process
- Inspecting brake pads and rotors for wear is crucial
- Brake repair can help improve vehicle performance
- Following a step-by-step guide can help save time and money
Understanding When Your Brakes Need Replacement
As a car owner, knowing when your car brakes need a new set is key. Worn-out brake pads can make stopping harder, increase accident risk, and cost a lot to fix. Spotting the signs of worn brake pads and rotor wear is vital.
Look out for squealing or grinding sounds when you hit the brakes. Also, if your car vibrates or pulsates when you stop, or if the brake pedal feels spongy, it’s a sign. If your car takes longer to stop than it used to, your brake pads might be worn out.
Common Signs of Worn Brake Pads
- Squealing or grinding noises when applying the brakes
- Vibration or pulsation when stopping
- Spongy brake pedal
- Increased stopping distance
Identifying Rotor Wear Patterns
Rotor wear patterns can also show when your car brakes need a change. If your rotors are too worn or warped, you might hear vibrations, noises, and feel less confident when stopping. Regular checks on your rotors can catch these problems early.
Warning Sounds and Signals
Don’t ignore warning sounds and lights, like a brake light on your dashboard. These signals mean your brake pads or rotors might need to be replaced. Fixing these issues quickly is crucial for your safety.
| Signs of Worn Brake Pads | Signs of Rotor Wear Patterns |
|---|---|
| Squealing or grinding noises | Vibration or pulsation when stopping |
| Spongy brake pedal | Excessive rotor wear or warping |
| Increased stopping distance | Brake warning light on dashboard |
Essential Safety Precautions for Brake Repair
When you’re doing brake repair, it’s key to follow safety precautions to keep yourself and others safe. A safe place to work is crucial for doing the job right. You should wear gloves and safety glasses and make sure the car is supported by jack stands.
It’s also important to have good air flow when working with brake materials. They can release harmful particles. Always handle and dispose of hazardous materials correctly. These steps help avoid injuries and make sure the brake repair goes well.
- Ensuring the vehicle is on a level surface
- Using proper lifting techniques to avoid injury
- Keeping loose clothing and long hair tied back
- Avoiding the use of open flames or sparks near brake materials
By following these tips and taking the right safety precautions, you can have a safe and successful brake repair experience.
Required Tools and Materials Checklist
Brake repair needs the right tools and materials for success. Before starting, gather all necessary items to avoid delays. This includes basic hand tools, specialty brake tools, and replacement parts.
Brake repair requires various tools and materials. This includes tools for replacing brake pads and resurfacing rotors. Having a detailed checklist of required tools and materials is crucial for a smooth process.
Basic Hand Tools Needed
Basic hand tools like wrenches, pliers, and screwdrivers are essential. They help loosen and tighten brake pads and rotors.
Specialty Brake Tools
Specialty brake tools are also needed. This includes a brake pad spreader, rotor resurfacing tool, and brake bleeding kit. These tools aid in specific tasks like brake pad and rotor installation.
Replacement Parts Selection Guide
Choosing the right brake pads and rotors is key. Use a replacement parts selection guide to pick the correct type and quality. This ensures the right fit for your vehicle and prevents problems.
Having the right tools and materials is vital for a successful brake repair. Always follow safety procedures and consult your vehicle’s repair manual for specific instructions.
Preparing Your Vehicle for Brake Service
Before you take your vehicle for brake service, make sure it’s ready. Check the vehicle’s condition and fix any problems that might affect the repair. A good vehicle preparation avoids delays and makes the service smoother.
Start by looking at the owner’s manual for any special tips. Also, check the tires, suspension, and steering for any issues. Make sure the vehicle is clean and free of dirt to avoid problems during service.
Here are some important steps for vehicle preparation:
- Check the vehicle’s tire pressure and tread depth
- Inspect the suspension and steering system for any signs of wear or damage
- Ensure the vehicle is clean and free of debris
- Check the owner’s manual for any specific recommendations
By following these steps, you can make sure your vehicle is ready for brake service. This helps avoid delays and makes the service smoother. Always talk to a professional mechanic if you’re not sure about anything.
Proper vehicle preparation is key for a successful brake service. By preparing your vehicle well, you ensure a smooth and efficient service experience.
| Step | Description |
|---|---|
| 1 | Check the owner’s manual for recommendations |
| 2 | Inspect the vehicle’s tires, suspension, and steering system |
| 3 | Ensure the vehicle is clean and free of debris |
Complete Brake Repair Process Overview
The brake repair process has many steps that need careful attention. It’s important to know the vehicle’s brake system well. This ensures the job is done right and safely. The first step is removing the wheels to get to the brake assembly.
Following a specific order is key in brake repair. This order includes:
- Removing the wheels to access the brake assembly
- Accessing the brake assembly to inspect and remove the old brake components
- Removing the caliper to access the rotor and other brake components
Knowing the brake repair process is vital. It makes sure the job is done right and safely. By following this process, you can be sure your brakes are working well and you’re safe on the road.
Removing the Wheels
Removing the wheels is the first step. You need to loosen the lug nuts and then remove the wheel. It’s important to do this correctly to avoid damage.
Accessing the Brake Assembly
After removing the wheels, you need to get to the brake assembly. This means removing the caliper and other parts. You’ll inspect and replace the old brake pads and rotors. This step requires a lot of attention to detail and knowledge of the brake system.
Removing and Inspecting Old Brake Components
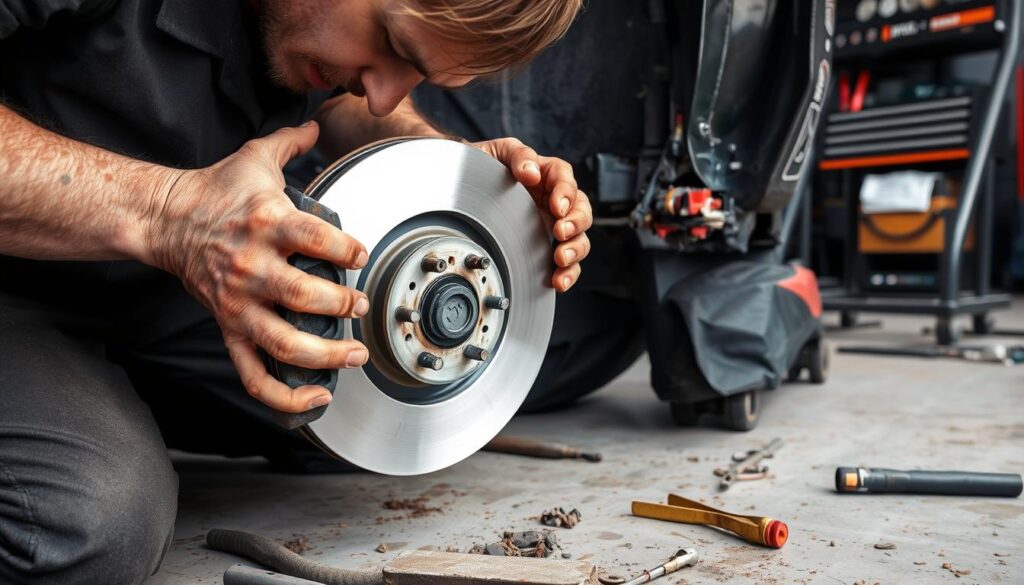
When fixing brakes, removal and inspection of old parts is key. It helps spot problems early and keeps your brakes working right. First, you take out the old brake pads and rotors.
To do this, loosen the caliper bolts and slide the caliper off the rotor. After removing the caliper, you can pull out the old brake pads. Look for wear or damage on the pads and rotors. Worn-out rotors can harm your brakes’ performance.
- Cracks or excessive wear on the brake pads
- Warping or excessive wear on the brake rotors
- Corrosion or damage to the brake caliper or other brake components
Inspecting old brake parts carefully helps find issues early. This might mean replacing brake pads, rotors, or other parts. Or, you might need to adjust the brake system for better alignment and function.
Regular brake system checks can prevent accidents and keep you safe. By inspecting and replacing old brake parts, you can catch problems before they get worse.
Installing New Brake Pads and Hardware
Installing new brake pads requires a careful sequence for safety and success. This includes preparing the brake assembly, applying lubricant, and tightening hardware to the right torque.
First, clean the brake assembly well. Then, put a bit of lubricant on the back of the brake pads and the contact points. This makes movement smooth and reduces friction.
Proper Installation Sequence
- Mount the new brake pads to the brake assembly
- Apply lubricant to the contact points
- Tighten the hardware to the specified torque
Always follow the manufacturer’s installation guide. The steps can differ based on the vehicle and brake type. Also, check the repair manual for the correct torque values.
Torque Specifications
| Brake Component | Torque Specification |
|---|---|
| Brake Caliper | 30-40 ft-lbs |
| Brake Rotor | 50-60 ft-lbs |
By following these steps and guidelines, you can install new brake pads and hardware confidently. This ensures your vehicle’s brakes work safely and effectively.
Rotor Replacement Techniques
When it comes to rotor replacement, the right techniques are key. This process needs careful attention and the right skills. Measuring the rotor’s thickness is crucial to decide if it should be replaced or resurfaced.
Using the correct tools and following the manufacturer’s instructions are important. This prevents damage to the rotor or other brake parts. Also, proper installation techniques are vital to ensure the rotor is securely in place and works right.
Measuring Rotor Thickness
To measure rotor thickness, you’ll need a micrometer. This tool helps you accurately measure the rotor’s thickness. If the rotor is too thin, it might need to be replaced for safe braking.
Installation Best Practices
When installing a new rotor, follow best practices. Clean the hub and rotor mounting surface well. Apply a thin layer of lubricant to the rotor’s back. Tighten the lug nuts in a star pattern. These steps help ensure a successful rotor replacement.
Remember, the right rotor replacement techniques are crucial for your vehicle’s braking system. Doing the job right helps your vehicle stop safely and reliably. 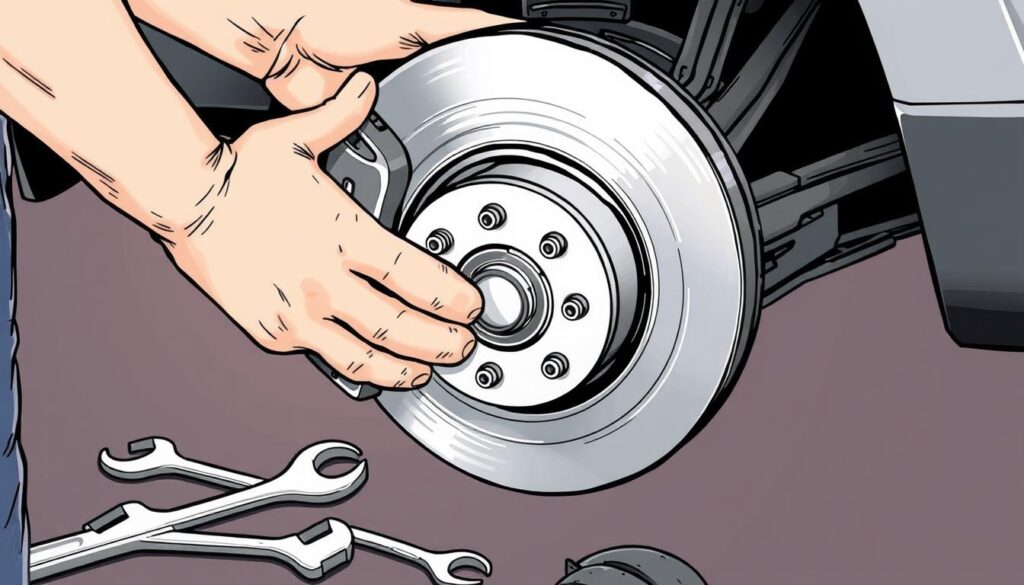
Testing and Breaking in New Brakes
After installing new brakes, it’s key to do brake testing to make sure they work right. This means doing a few tests to check if the brakes stop the car well. The break-in process is also important. It helps the brake pads and rotors fit right, so they work well and last longer.
A good brake testing includes slow and fast stops, and even emergency stops. It’s also smart to test the brakes in different situations, like going up or down hills. This makes sure they work right in all kinds of driving.
When you’re breaking in your brakes, don’t brake hard or drive fast. This can make the pads and rotors wear out unevenly. Instead, drive easy and don’t stop suddenly. This lets the brakes get used to the new parts. By doing these steps and testing your brakes well, you can make sure they stop your car safely and reliably.
- Perform low-speed and high-speed stops to evaluate brake responsiveness
- Test brakes in different driving conditions, such as on inclines and declines
- Avoid heavy braking or aggressive driving during the break-in process
By following these tips and doing the right brake testing and break-in process, you can make sure your new brakes work right. They will help stop your car safely and reliably.
Common Mistakes to Avoid During Brake Repair
Brake repair is crucial for safety. Knowing common mistakes can prevent damage or safety risks. Improper installation is a big concern. It can lead to poor braking or even failure. Always follow the manufacturer’s guide and be careful during repair.
Watch out for insufficient torque on brake bolts, incorrect brake pad alignment, and failure to properly bleed the brake system. These errors can be prevented by double-checking your work. Make sure all parts are securely in place and working right.
- Always refer to the vehicle’s repair manual for specific instructions and guidelines
- Use high-quality replacement parts to ensure optimal performance and safety
- Take your time and work methodically to avoid rushing through the brake repair process
By avoiding these common mistakes, you can ensure a safe and successful brake repair. Stay alert and take precautions to prevent accidents and injuries during brake repair.
| Mistake | Consequence | Prevention |
|---|---|---|
| Insufficient torque on brake bolts | Brake failure or reduced performance | Follow manufacturer’s torque specifications |
| Incorrect brake pad alignment | Uneven wear or brake noise | Use proper alignment tools and techniques |
| Failure to properly bleed the brake system | Air in the brake lines or reduced braking performance | Follow proper bleeding procedures and use quality brake fluid |
Conclusion: Ensuring Your Brake Repair Success
Keeping your car’s brakes in good shape is key for your safety and your car’s life. By following the guide in this article, you can handle brake repair with confidence. Always put safety first, use the correct tools, and check each part carefully.
Now, you’re ready to tackle brake repair with confidence. Knowing the basics and best practices helps keep your brakes working well. This gives you peace of mind and reliable performance.

